How to Create an Antique Brass Finish with Rub ‘N Buff
If you’ve been deep in the DIY world for a while, you’ve probably heard of Rub N Buff. This little tube of magic is a budget-friendly favorite for transforming everything from furniture hardware to light fixtures with a luxe, metallic finish. And the best part? It’s quick, easy, and gives an authentic aged metal effect—no special tools required.
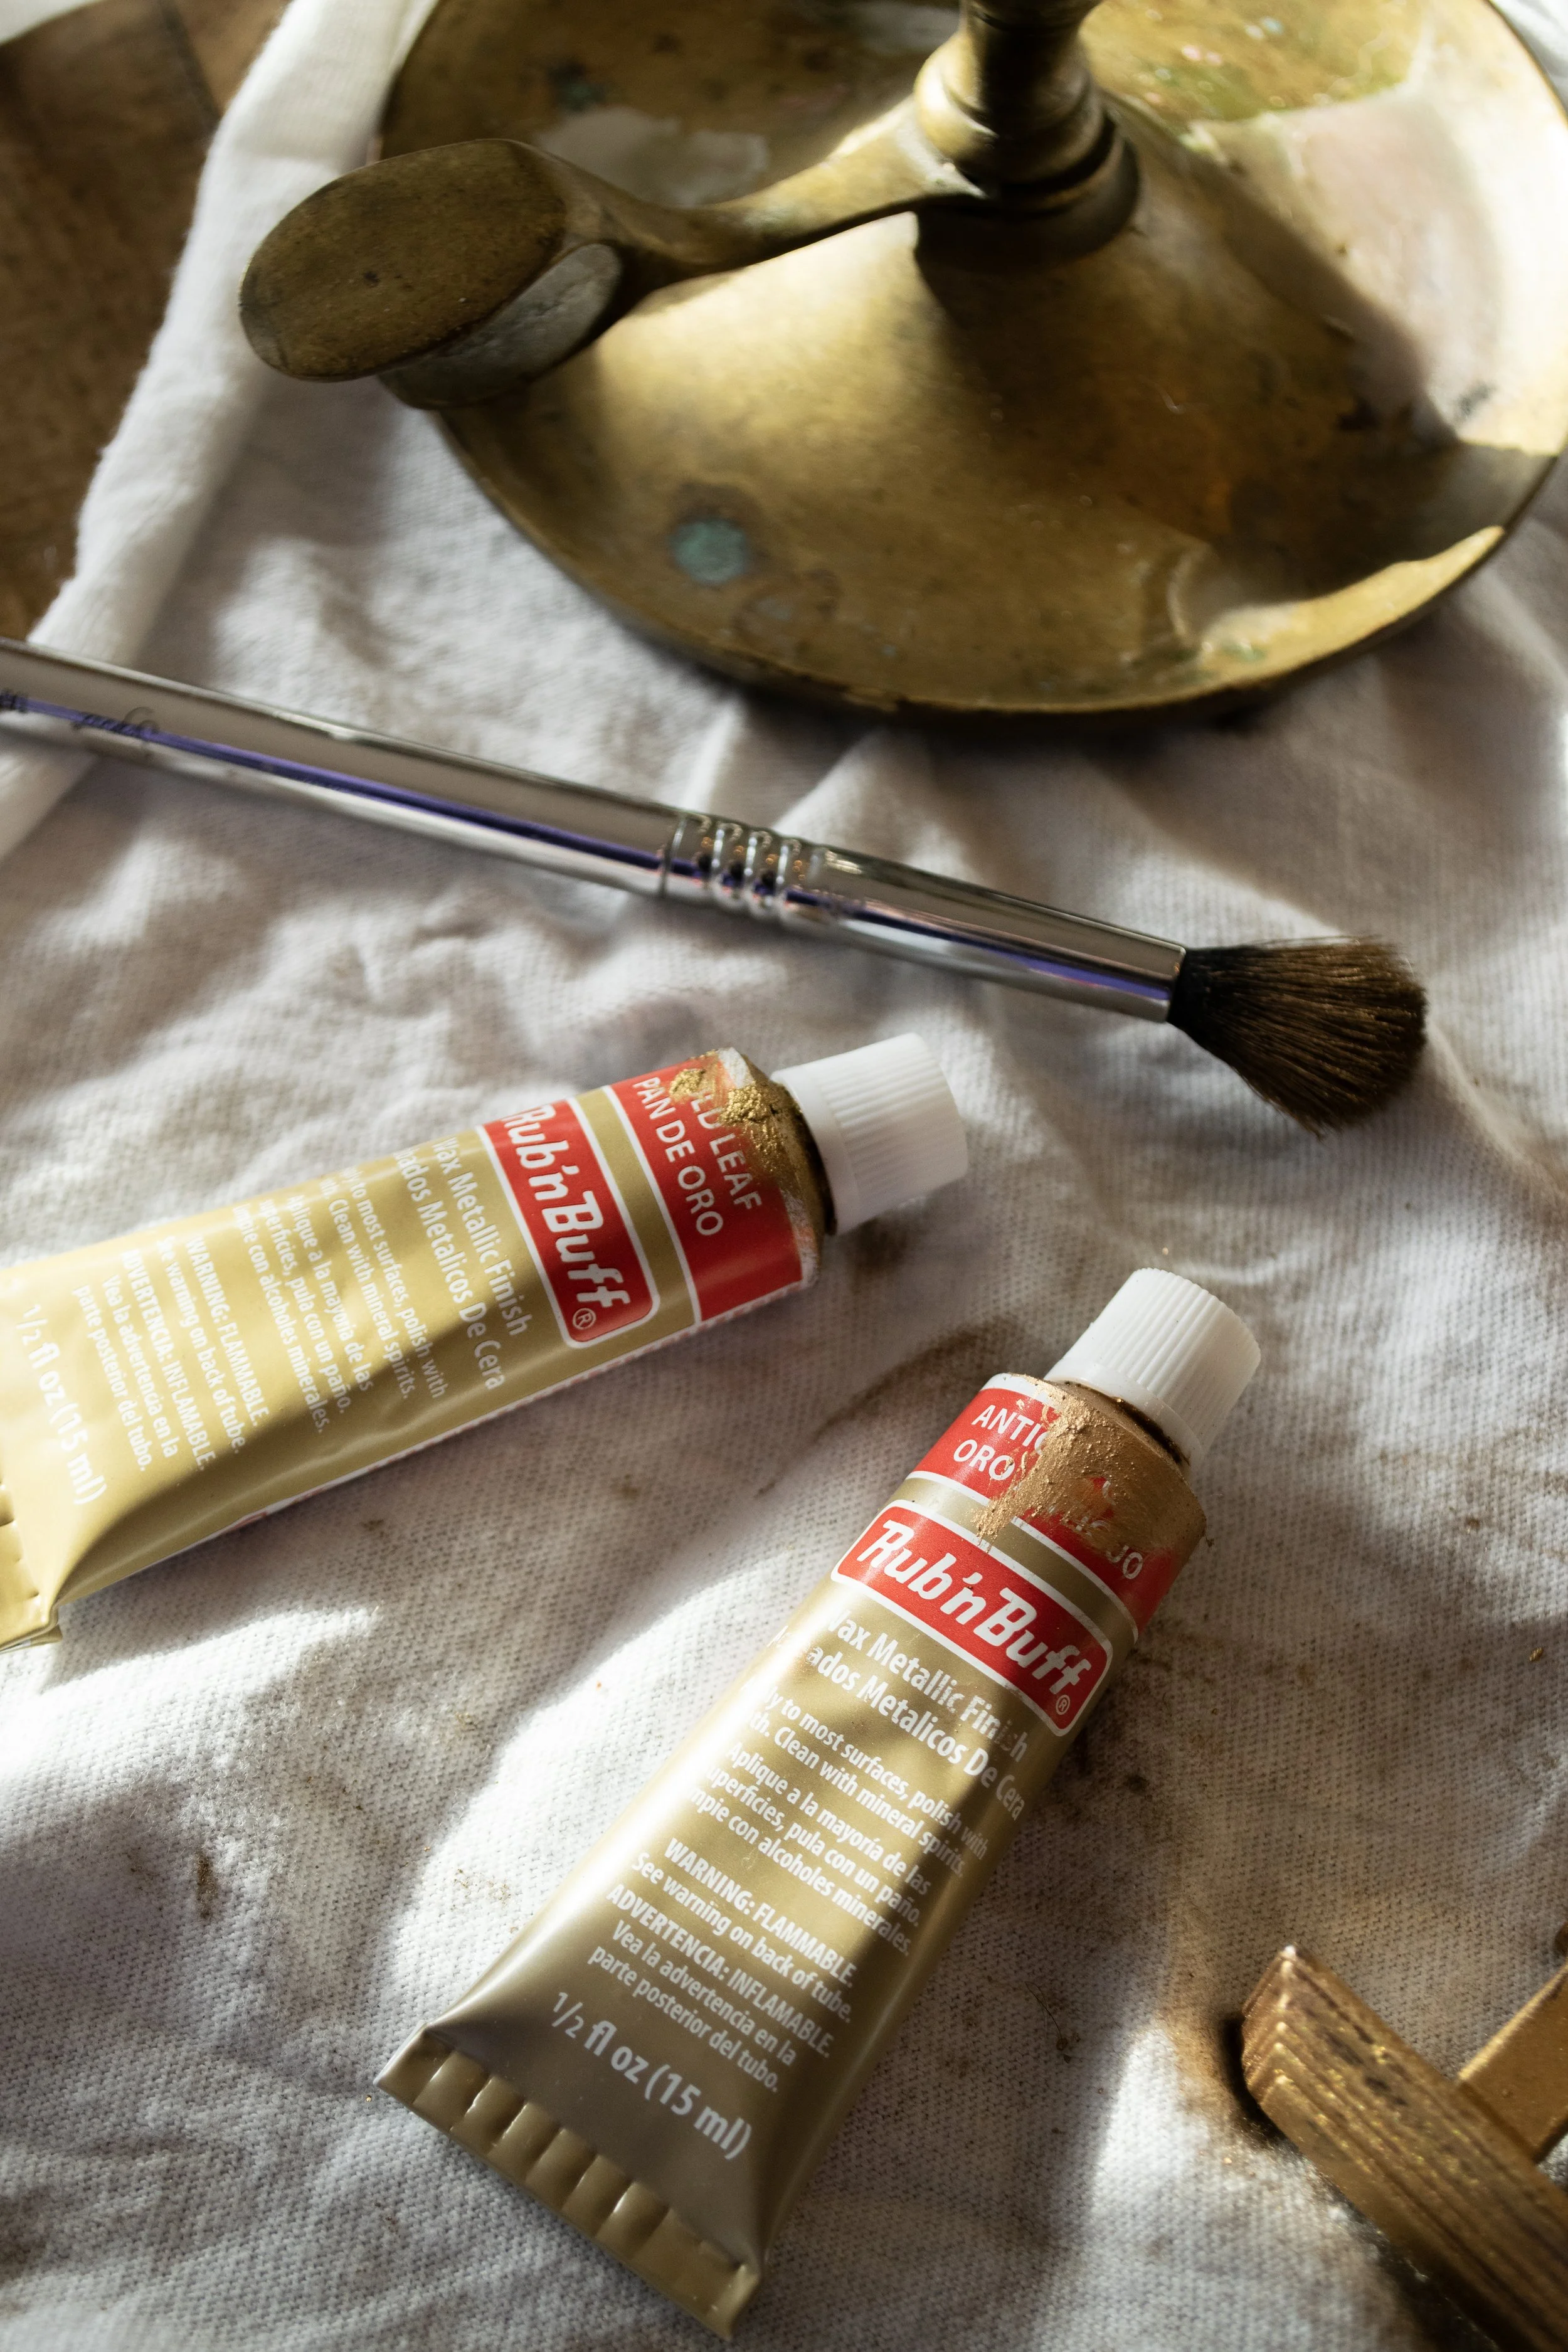
I recently gave my bathroom cabinet hardware a glow-up using two shades of Rub N Buff—Antique Gold and Gold Leaf—on top of my existing oil-rubbed bronze pulls. The result? A gorgeous antique brass finish that looks high-end but cost me next to nothing. If you’re looking to upgrade your hardware without replacing it, here’s exactly how to do it.
Oh, and if you’re more of a visual learner, I’ve got you covered—I filmed the whole process for TikTok! Check out the video here.

Why Use Rub N Buff for an Antique Brass Look?
Rub N Buff is a metallic, wax-based finish that adheres to most surfaces (wood, metal, plastic—you name it) and creates a soft, brushed metal effect. Unlike spray paint, it allows you to build up color in layers, giving it a natural, aged patina rather than a flat, one-note finish.
For an antique brass look, layering multiple shades (like Antique Gold and Gold Leaf) helps create depth and dimension, making the finish look more authentic.
Important Note: This is not a renter-friendly solution. Once applied, Rub N Buff doesn’t easily wipe off, so be sure you’re committed to the change before diving in.
What You’ll Need
Cabinet hardware (or any metal surface you want to transform)
Rub N Buff in Antique Gold and Gold Leaf
An old makeup brush (yes, really!) or a small artist’s brush
A t-shirt rag or soft cloth
A cleaning brush + mild soap
Step-by-Step: How to Apply Rub N Buff for an Aged Brass Effect
1. Prep Your Hardware
Before you start, clean your hardware thoroughly. If there’s any grime or oil buildup, Rub N Buff won’t adhere properly. I used a small cleaning brush to scrub into the grooves and crevices, ensuring a smooth application. Let everything dry completely before moving on.
2. Apply Antique Gold as Your Base Layer
Squeeze a tiny bit of Antique Gold Rub N Buff onto a paper towel or the back of your hand (a little goes a long way). Lightly dip your makeup brush into the wax and start applying it to your hardware using soft, sweeping motions.
Pro Tip: Work in light layers! You don’t want to completely cover the original finish—letting a little of the darker metal peek through will give it that aged look.
If you apply too much, simply buff it out with your rag.
3. Add Gold Leaf for Extra Dimension
Once your first layer is dry (which happens almost instantly), repeat the process with Gold Leaf. This shade has a slightly brighter, more reflective quality, so use it sparingly for highlights.
I focused on the raised areas of my cabinet pulls, applying the wax with a gentle tapping motion to mimic the way real brass naturally develops variations in tone over time.
4. Buff and Blend
Using your t-shirt rag, gently buff out any excess product, blending the two shades together until you achieve your desired look. If you want a little more contrast, you can go back in with a touch more Antique Gold to tone down any areas that feel too bright.
5. Let Dry & Reinstall
Rub N Buff dries quickly, but I recommend waiting at least 30 minutes before handling your hardware too much. Once everything is set, reinstall your pulls and admire your work!

Final Thoughts: Why This Hack Works
This DIY is a game-changer if you want an affordable way to upgrade your space without committing to brand-new hardware. I used this trick as part of my budget-friendly bathroom refresh, and it instantly elevated the look of my painted oak vanity.
If you're on the fence about swapping out your hardware or just want to experiment with a richer, antique brass finish, give this method a try!
Want to see the full process in action? Check out my video tutorial on TikTok! Click here to watch.